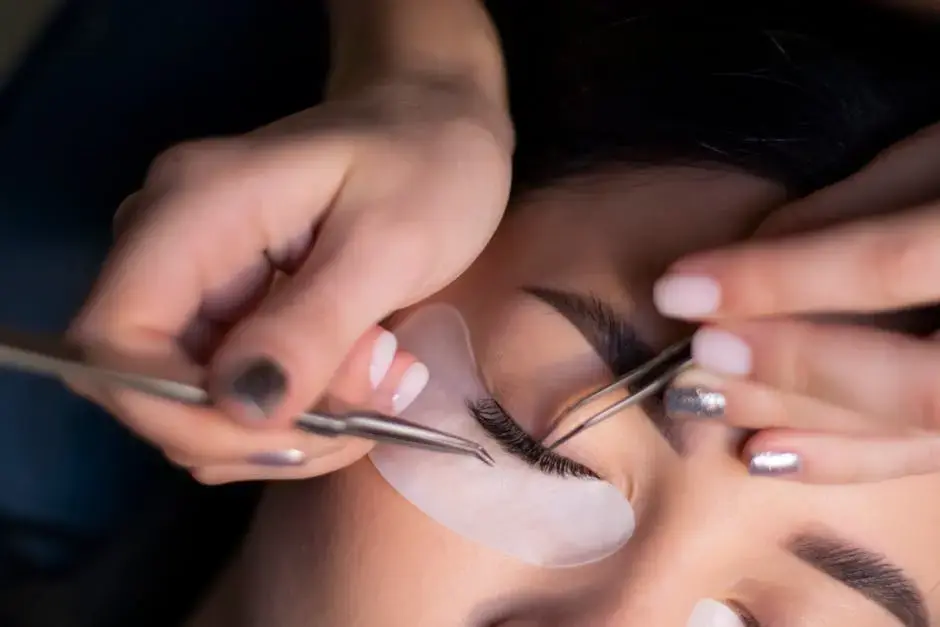
7 Tips to Care for Your Brows After Eyebrow Microblading
- vickyhsieh222
- Dec 11, 2024
- 4 min read
Eyebrow microblading can give you those full, natural-looking brows you've always dreamed of, but the magic doesn't stop after your appointment. To truly enjoy the long-lasting results, proper aftercare is key. Here are some friendly, easy-to-follow tips to keep your brows looking fabulous long after your session.

1. Leave Your Brows Alone
It's important to let your brows heal naturally, which means no touching or scratching. Your skin will need time to heal after microblading, so be gentle and let it do its thing.
Understandably, the temptation to touch or scratch your brows is high, especially as they begin to heal. They may itch as the skin starts to regenerate, but it's crucial to fight the urge. Touching them could introduce bacteria, leading to complications or infections. Furthermore, scratching could disrupt the microblading pigment, giving your brows an uneven appearance. Think of this healing stage as your brows' beauty sleep; let them rest undisturbed for the best results.
2. Avoid Moisture for a Few Days
Try to keep your brows dry for at least the first week. Avoid heavy sweating, and be cautious in the shower to prevent water from hitting your brows directly.
You might wonder why moisture is a no-go during the initial healing phase. Well, excess moisture can cause scabbing or lifting of the pigment prematurely. This includes tears, rain, and even humidity, all of which can interfere with the healing process. Activities like swimming and steam rooms should be off the table for a bit. A good tip is to wash your face carefully, using a damp cloth to clean the areas around your brows without risking them getting wet. It may seem inconvenient initially, but in the long run, your brows will thank you.
3. Steer Clear of Makeup
Hold off on applying any makeup or skincare products near your brows. You want the area to remain as clean and untouched as possible while it heals.
Your makeup routine might feel incomplete without a touch of product on your brows, but patience here is your ally. Makeup can be dense, filling in pores and possibly causing irritation or infection while your skin is still vulnerable. Avoid foundation and concealer nearby to minimize risk. This is an excellent opportunity to embrace a light, natural look, allowing your skin and brows the space to breathe. Once the healing stages pass, you can return to your regular makeup routine, but until then, let your natural beauty shine!
4. Keep Sun Exposure to a Minimum
Sun exposure can cause fading or discoloration, so if you're heading outdoors, consider wearing a wide-brimmed hat to protect your brows.
The sun, while nourishing, can be detrimental to your newly microbladed brows. UV rays are known to break down the pigments used in microblading, hastening the fading process and potentially altering the color. It might sound dramatic, but think of your brows as a delicate canvas needing protection from harsh external factors. Hats, sunglasses, or umbrellas can be stylish and practical solutions when you need to be out in the sun. Remember, it's not just about maintaining the color, but also preserving the health and integrity of the skin beneath.
5. Use Recommended Healing Creams
Your technician may suggest a specific healing ointment or cream. Apply according to the instructions to keep your brows moisturized without interfering with the healing process.
Choosing the right product is half the battle. The creams recommended by your technician are formulated to enhance healing while protecting the pigment. Applying these at the right times, often sparingly, ensures that your skin stays moisturized without becoming overly oily, which could affect the pigment. Stick to the advice given, and if there’s ever any doubt or adverse reaction, reach out to your technician for further instruction. It's a teamwork effort between you and your skin to achieve those dreamy beauty goals.
6. Avoid Picking or Peeling
As your brows heal, they might start to flake—resist the urge to pick at them. Let all scabbing fall off naturally to avoid patches or loss of pigment.
Picking at scabs might feel satisfying, but it's one of the worst things you can do during the healing phase. Removing scabs prematurely can pull out the pigment, leaving gaps that look uneven. Your skin is in a fragile state, and scabs are a natural barrier protecting it from dirt and bacteria. They also help keep the pigment settled in until your skin is ready to reveal its new layer. Patience is a virtue strongly needed here; trust the process, and the results will speak volumes once your brows have completely healed.
7. Schedule a Touch-Up
A follow-up appointment is essential for the perfect finish. Usually, this touch-up happens about four to six weeks after the initial procedure to ensure everything looks just right.
The importance of a touch-up cannot be overstated. Consider it as the final brushstroke to a masterpiece. During the touch-up, your technician will fill in any areas where the pigment may have been lost or needed adjustment for perfect symmetry. It’s also an excellent time to voice any concerns or adjustments you'd like, as this visit helps address any inconsistencies, ensuring your brows look polished and vibrant for the upcoming months. Think of it as a routine maintenance appointment to keep your brow game strong!


Comments